the grains of life...living...growing...writing...baking...cooking...crafting

Monday, December 22, 2014

Ready by January 22

Fruitcake


I should have made my fruitcake a month ago or at least a couple of weeks ago so it would have had time to mature by Christmas. Some consider this to be an important aspect of a good fruitcake. I baked mine tonight. I considered many different recipes and designed my own. If you want a cake that is more nuts than fruit, that incorporates all candied fruit and no dried fruit or raisins and adds a touch of orange and molasses, then mine might be for you. I hope you will consider your favorite flavors and experiment to design a new favorite for your family.

  • 2 cups chopped walnuts
  • 2 cups chopped pecans
  • 2 cups fruitcake fruit mix
  • 3 Tablespoons all-purpose flour
  • 3/4 cup softened butter (1 1/2 sticks)
  • 1 cup sugar
  • 5 eggs
  • 2 Tablespoons molasses
  • 1 Tablespoon vanilla
  • 1/3 cup orange juice
  • 1 3/4 all-purpose flour
  • 1/2 teaspoon baking soda
  • pinch of salt


Preheat oven to 300°F. Grease and flour a large tube pan. Combine walnuts, pecans, and fruit mix. Sprinkle with 3 Tablespoons flour.

Stir gently until nuts and fruit are coated in flour. Set aside. In an electric mixer, cream together butter and sugar. Add eggs one at a time beating well with each addition.
Add molasses, vanilla, and orange juice. Mix together. Add flour, baking soda, and salt all at once.  Beat, scrapping sides with spatula until all is combined.  Stir in nuts and fruit.
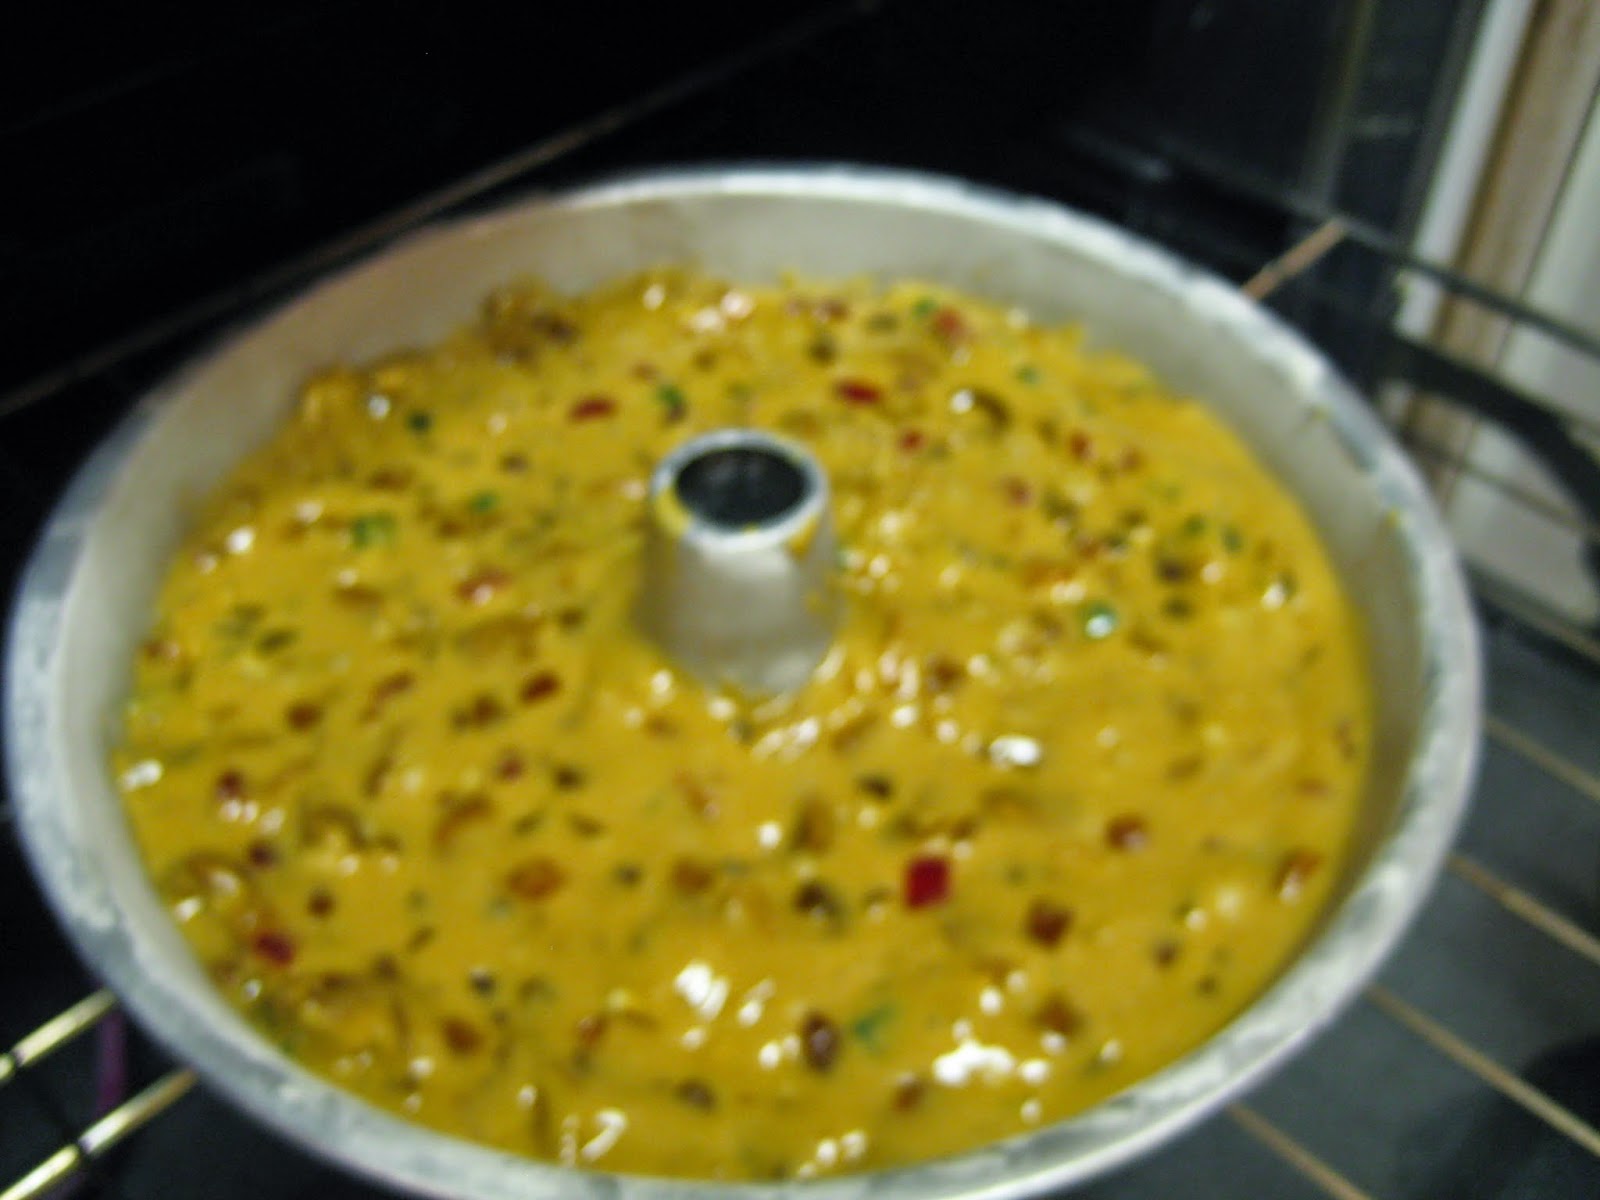
Spoon carefully into pan taking care to spread batter evenly.
Bake for 2 hours until toothpick inserted near center comes out clean and cake pulls away from sides of pan. Run a knife along the edges to help loosen cake if needed. Allow cake to rest in pan on cooling rack for approximately 30 minutes. Remove from pan onto glass cake plate.
  Cool completely. Wrap in plastic wrap followed by foil wrap.    


Monday, December 15, 2014

Dixies

Dixies are part bar cookie, part brownie, and all together delicious. A friend gave me this recipe almost ten years ago. It's an old recipe using lots of butter and sugar.  I only make them when I can take the whole batch somewhere which is usually around Christmas. They melt in your mouth. Hope you enjoy them.


  • 1 box dark brown sugar
  • 2 sticks butter, melted
  • 2 eggs
  • 1 teaspoon vanilla
  • 2 cups self-rising flour
  • 1 cup chopped pecans

Combine ingredients, spread into a greased 9”x13” pan. Bake at 350°F for 30 minutes.

Monday, December 1, 2014

Cranberry Waldorf Salad


Cranberries look and smell and more importantly, taste like Christmas. Culturally, cranberries are one of our holiday foods. They appear in the fall, and shortly after Christmas we usually don't see them again until next fall. You can always buy a few extra bags as cranberries keep well in the freezer. Then you can use them throughout the year.


I checked out quite a few recipes for Cranberry Waldorf Salad and tweaked one into my very own.  Hope you enjoy.


  • 1 1/2 cups chopped cranberries
  • 1large red apple, chopped and sprinkled with a few shakes of lemon juice
  • 1/2 cup chopped celery
  • 1 cup seedless grapes, halved or quartered
  • 1/2 cup chopped walnuts
  • 2 Tablespoons honey
  • 2 Tablespoons sugar
  • 1/2 teaspoon cinnamon
  • 1 6-ounce container light vanilla yogurt
  • 1/4 cup mayonnaise
Combine all ingredients in mixing bowl. Stir gently yet thoroughly to combine. Cover and refrigerate until serving.

I prefer to chop the cranberries in my small food chopper.  It creates slivers of red throughout the dish.

Serves 6 to 8

Sunday, November 23, 2014

Felt Gift Card Pocket Bags


These little felt bags are just wide enough to slide a gift card inside and just tall enough to keep it hidden.  The pearl button serves as the clasp on the front.  Since it's not designed to be a high-use bag, a simple slit in the green clasper piece of felt works nicely without any reinforcement to clasp the button to close the bag on the front.


The backside of the green clasper piece is sewn on using another button which makes the bag a bit nicer than if I'd only sewn a crisscross pattern to tack the felt down on the back.


The green cuff on the front also adds a nice element that upgrades this bag a bit. I used felt scraps I already had at home and two buttons from my button jar.

Many items of clothing come with extra buttons. Some are included on cards or in tiny attached envelopes or even sewn into the side tag.  In my lifetime I can count on a couple of fingers the number of times I've needed to use one of those extra buttons.  So years ago I started putting them in a mason jar.  I've accumulated a bit of a stash which comes in handy for projects like these.


I designed these small pocket bags to hold gift cards.  I wanted something easy to make and something I could customize personally for the recipient.  I chose burgundy and forest green felt for this one as it was designed to be a Christmas present.  You could easily chose felt colors and patterns to reflect many types of people and special occasions.  Different types of buttons can add the right embellishment for the right person.

To make a pocket bag like this one, you need:  3 pieces of felt: a main body piece of felt (burgundy part) 4 1/2 in. x 5 in., a cuff(green part across the front) 2 1/2 in. x 4 1/2 in., and a clasper (green part across the top used to latch the bag closed) 1 in. x 3 1/2 in.; 2 buttons; coordinating thread 
  1.  Sew one 4 1/2 in. edge of the cuff to one 4 1/2 in. edge of the main body overlapping the cuff about an inch on top of the body.  The other 1 1/2 in. of cuff should be hanging off the body piece of felt.  Sew the cuff across the edge to the body of the bag using a 1/4 in. seam. This is the wrong side of the bag.
  2. fold the 1 1/2 in. part over the body edge to the right side.  
  3. Fold the two 4 1/2 in. edges of the right side together.  The 1 1/2 in. cuff should be to the inside.
  4. Using a 1/4 in. seam, sew the two sides together down from the cuff.  Sew all the way off the fabric reinforcing each end.
  5. Turn the bag right side out.
  6. Attach one end of the clasper to the middle of the back of the bag using a button. Cut a small slit in the other end of the clasper that is big enough to button your decorative button on the front.
  7. Sew a decorative button onto the middle of the cuff. 
Once you work through one of these, it is so easy to make as many as you need. These pocket bags help you personalize your gift. Hope you enjoy the many variations you can create.

Saturday, October 18, 2014

Kielbasa Spinach Tortellini Soup


  •        1 package turkey kielbasa sausage cut into half-inch rounds and halved
  •        ½ bag frozen spinach
  •        1 bag cheese tortellini
  •        6 cups low sodium chicken stock
  •         black pepper
  •         onion powder
  •         garlic
  •         dry mustard
  •         paprika
  •         shredded Parmesan, optional
  •         sour cream, optional

Cook kielbasa over medium heat until golden brown.


In separate pot, cook spinach according to package instructions. Drain.


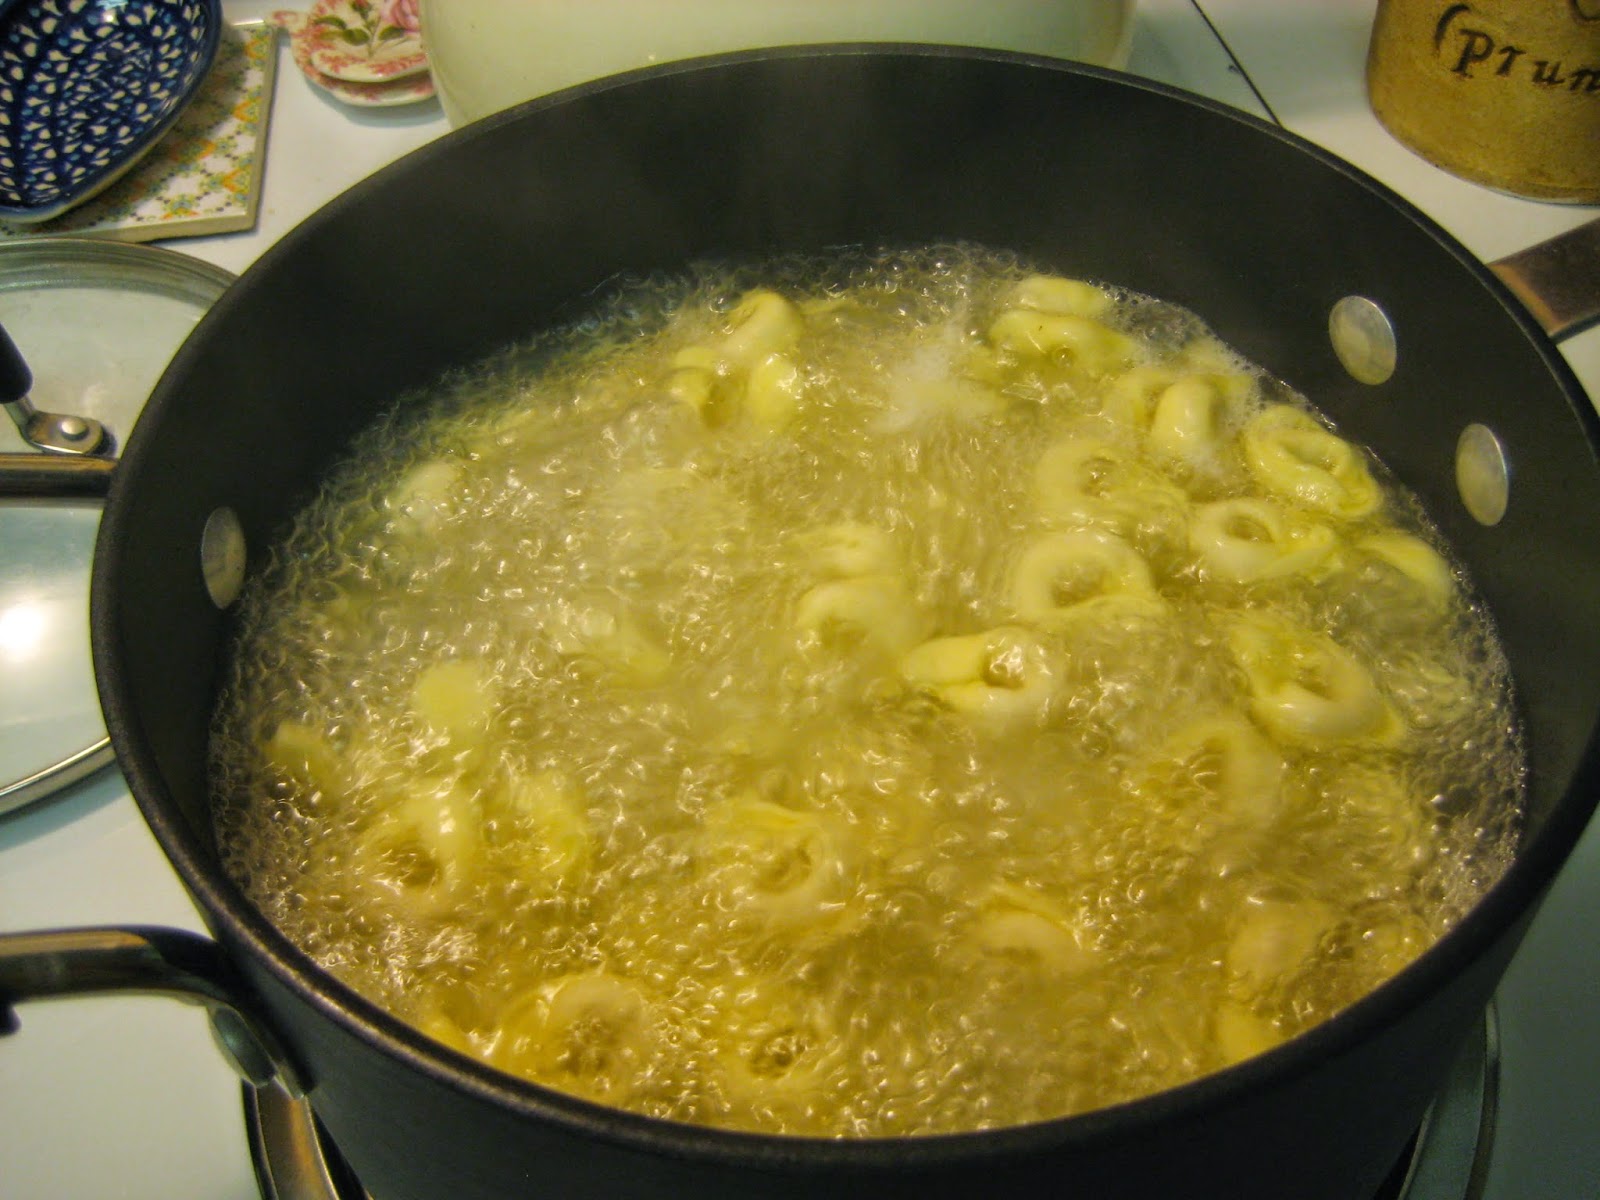
Cook tortellini according to package instructions – I usually buy the dry bagged tortellini on the pasta aisle. You could also use fresh tortellini in the cold foods section.
You can use fresh, boxed, canned, or bouillon cubes for your chicken stock. I add the spices according to my taste so I encourage you to do the same in this recipe. Experiment until you find the right balance for you. We like garlic so I go a bit heavy with that one. I use whatever is on hand – fresh pressed, minced, powdered – whatever is easier/best for you. I do not recommend garlic salt because you will be getting plenty of salt naturally in the other ingredients.

In large pot combine kielbasa, drained spinach, tortellini, chicken stock, and spices. Heat until just bubbly. Ladle into bowls.  Sprinkle shredded Parmesan on top. Add a dollop of sour cream. Serve.

I like to experiment and I hope you do, too. You might want to add onions or add broccoli instead of spinach or use shredded chicken or ground beef instead of the kielbasa. Give yourself permission to switch it up.


Saturday, September 6, 2014

Chocolate Chip Oatmeal Cookies

This cookie is an old favorite and probably the first cookie I ever made on my own after I moved away from home. They can be fragile until cooled so handle with care; however, they must be removed from the cookie sheet quickly and carefully as they will stick.
  • 1 stick butter
  • 1 stick margarine
  • 1 ¼ cups light brown sugar
  • ½ cup granulated sugar
  • 2 large eggs
  • 2 Tablespoons milk
  • 2 teaspoons real vanilla
  • 2 cups all purpose flour
  • 1 teaspoon baking soda
  • 1 teaspoon baking powder
  • ½ teaspoon salt
  • 2 ½ cups uncooked regular oats
  • 2 cups semi-sweet chocolate chips
  Preheat oven to 375°F. Cream together butter, margarine, and sugars.  
 Add eggs, milk, and vanilla. Beat well. 


In separate bowl combine flour, baking soda, baking powder, and salt.  Add to creamed butter mixture. Mix thoroughly to combine.


Thoroughly mix in oats. Stir in chocolate chips.

Drop by teaspoonfuls onto ungreased cookie sheet. Bake for 11 to 12 minutes. These really are better still gooey. You might want to go ahead and pour a glass of milk while the cookies are sill warm. Enjoy!


Saturday, June 28, 2014

4th of July Blueberry Buckle

Over the years I've tried my hand at many patriotic desserts using strawberries and blueberries.  This year I came up with a new one, and I hope it will become a favorite, too.  Hope you enjoy.
Blueberry Buckle

Crumble:
  •      ½ cup all-purpose flour
  • ¼ cup granulated sugar
  • ¼ cup light brown sugar
  • ¼ cup old fashioned oats
  • ½ teaspoon ground cinnamon
  • 4 Tablespoons butter,  cold & cut in small pieces 

Batter:
  • 1 cup all-purpose flour
  • 1 teaspoon baking powder
  • ¼ teaspoon salt
  • 4 Tablespoons butter, softened
  • ⅓ cup granulated sugar
  • 1 egg
  • ½ cup milk
  • 1 teaspoon vanilla 

Filling:
  •      4 cups blueberries, fresh or frozen
  • 1 Tablespoon all-purpose flour
  • 2 Tablespoons granulated sugar
  • 1 Tablespoon lemon juice  

For Crumble:  Stir together first five ingredients. Using a fork cut in butter pieces. Set crumble mixture aside.

For Batter:  Mix together flour, baking powder, and salt in a small bowl. Set aside. In a mixing bowl combine butter and sugar. Mix with electric mixer. Add egg. Mix together well. To the sugar/butter mixture, add half of the flour mixture, then half the milk, then the remaining flour, and finally the rest of the milk. Mix well on medium speed after each addition. Stir in vanilla.  

For Filling:  Stir together all ingredients in a large bowl. 

Spray a deep dish glass pie pan with non-stick spray. Spread the batter in the bottom.  Add the filling mixture spreading gently to cover the batter.  Top with the crumble mixture.   

Bake at 350ºF for 40 to 45 minutes or until the Blueberry Buckle is browned on top and the filling just begins to bubble around the edges.  

Serve warm or at room temperature.
Serves 8.    


Saturday, March 8, 2014

Some Comfort Food

Cheese and pasta are two essential comfort food ingredients. Traditional macaroni and cheese is one of the ultimate comfort foods of all time. I do a slight twist on a simple recipe here. I found that in using small shells instead of traditional macaroni shaped noodles, I can capture more cheese. The shells serve as mini pockets which attract a little pocketful of cheese in each bite. In starting with a basic white sauce, you can branch off and try many different kinds of cheese. I also like to use white cheddar, monterey jack, provolone, or some combination. You can't beat the slight bite of a sharp cheddar, though. Consider mixing it up to perfect your own unique flavor.
 

Shells 'n Cheddar

Shells:

  • 6 quarts water
  • 1 pound pasta shells
  • extra virgin olive oil
Bring six quarts of water to a boil. Add a couple shakes of olive oil. Add shells.  Cook for 10 to 12 minutes until desired tenderness is reached. Drain pasta in a colander. 

Cheddar Sauce:

  • 4 Tablespoons unsalted butter
  • 4 Tablespoons all-purpose flour
  • 2 cups milk
  • black pepper
  • 2 cups shredded cheddar cheese
I start making the sauce when I put the water on to boil.  If I'm not interrupted this gives me enough time to finish the sauce by the time the pasta is ready.
 
Melt butter in large sauce pan over medium heat. Sprinkle flour over melted butter. Continue stirring for two to three  minutes until bubbles form and mixture turns slightly brown.
Slowly add milk a few ounces at a time. Mixture will be lumpy if cold milk is added straight from the refrigerator. You can either pour it into a measuring cup and allow it to sit out for 10 to 15 minutes while you do other things or just microwave it for about a minute. Stir the mixture well until the milk absorbs into the flour mixture before adding more. Stir until all milk is added. Continue cooking mixture for about two minutes just until it starts to boil. Remove from heat. Add black pepper to taste. Add cheese, mixing well.


Combo:

Combine pasta and cheese in saucepan.  Heat to desired temperature.  Enjoy!!  

NOTE:  If you ever need a basic white sauce this makes a great one.  So instead of adding cheese, you can leave it like it is or add other great flavors for a completely different flavor or texture.