the grains of life...living...growing...writing...baking...cooking...crafting

Showing posts with label Christmas Cookies and Goodies. Show all posts

Monday, December 22, 2014

Ready by January 22

Fruitcake


I should have made my fruitcake a month ago or at least a couple of weeks ago so it would have had time to mature by Christmas. Some consider this to be an important aspect of a good fruitcake. I baked mine tonight. I considered many different recipes and designed my own. If you want a cake that is more nuts than fruit, that incorporates all candied fruit and no dried fruit or raisins and adds a touch of orange and molasses, then mine might be for you. I hope you will consider your favorite flavors and experiment to design a new favorite for your family.

  • 2 cups chopped walnuts
  • 2 cups chopped pecans
  • 2 cups fruitcake fruit mix
  • 3 Tablespoons all-purpose flour
  • 3/4 cup softened butter (1 1/2 sticks)
  • 1 cup sugar
  • 5 eggs
  • 2 Tablespoons molasses
  • 1 Tablespoon vanilla
  • 1/3 cup orange juice
  • 1 3/4 all-purpose flour
  • 1/2 teaspoon baking soda
  • pinch of salt


Preheat oven to 300°F. Grease and flour a large tube pan. Combine walnuts, pecans, and fruit mix. Sprinkle with 3 Tablespoons flour.

Stir gently until nuts and fruit are coated in flour. Set aside. In an electric mixer, cream together butter and sugar. Add eggs one at a time beating well with each addition.
Add molasses, vanilla, and orange juice. Mix together. Add flour, baking soda, and salt all at once.  Beat, scrapping sides with spatula until all is combined.  Stir in nuts and fruit.
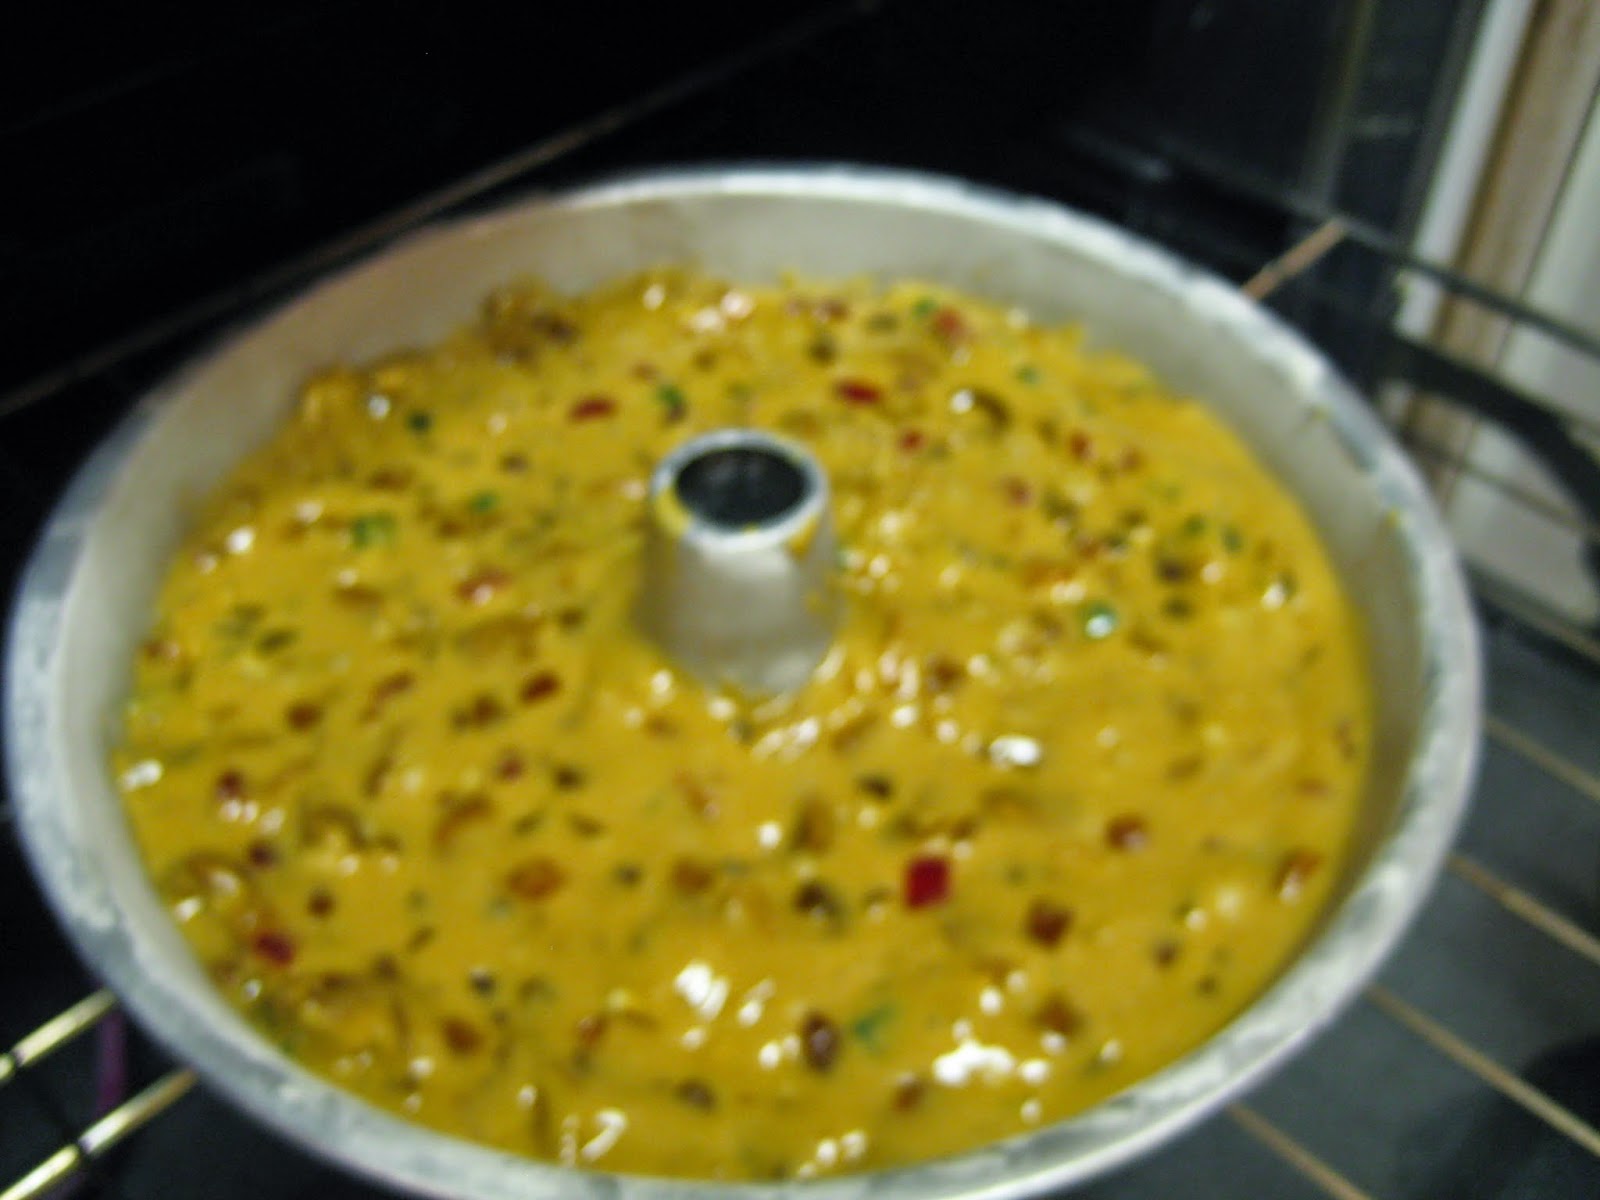
Spoon carefully into pan taking care to spread batter evenly.
Bake for 2 hours until toothpick inserted near center comes out clean and cake pulls away from sides of pan. Run a knife along the edges to help loosen cake if needed. Allow cake to rest in pan on cooling rack for approximately 30 minutes. Remove from pan onto glass cake plate.
  Cool completely. Wrap in plastic wrap followed by foil wrap.    


Monday, December 15, 2014

Dixies

Dixies are part bar cookie, part brownie, and all together delicious. A friend gave me this recipe almost ten years ago. It's an old recipe using lots of butter and sugar.  I only make them when I can take the whole batch somewhere which is usually around Christmas. They melt in your mouth. Hope you enjoy them.


  • 1 box dark brown sugar
  • 2 sticks butter, melted
  • 2 eggs
  • 1 teaspoon vanilla
  • 2 cups self-rising flour
  • 1 cup chopped pecans

Combine ingredients, spread into a greased 9”x13” pan. Bake at 350°F for 30 minutes.

Wednesday, March 27, 2013

Dreamy Orange Puffs

For Christmas last year I made some cookies, soups, and cakes for family and friends for Christmas.  I layered all of the dry ingredients in pint or quart mason jars, decorated the lids, and tied on decorative labels with the wet ingredients to add and the instructions.  They were a huge success.  Everyone liked them.

One particular cookie recipe, Dreamy Orange Puffs, was a favorite of several people.  I chose to make that one in memory of my mother.  Orange was one of her favorite flavors.  She loved orange sherbet and vanilla ice cream swirled together.  The sugar coated orange jellied slices that you could buy in the clear package on the candy aisle were among her favorites.  I can remember on many a Christmas receiving orange tic tacs in my stocking.  I think my mother had something to do with it.

One of my sister-in-laws asked me recently for this recipe so I thought I would put it out there for everyone.  Enjoy!!

The first “recipe” is for making them once for you.  The second is for making them up in glass jars to have on hand to give away as gifts or for you and your family for later.  It is nice to have a stock of these on hand because they make such nice gifts for: a sick friend, a new neighbor, a birthday surprise, or an everyday “I’m thinking of you” gift.

Thanks for asking for this one, Misty.   

 Dreamy Orange Puffs

·         ½ cup orange flavored instant breakfast drink powder (you can usually find this on the aisle with lemonade)
·         ¾ cup sugar
·         1 ¾ cup all-purpose flour
·         ½ teaspoon baking soda
·         ½ teaspoon baking powder
·         1 stick softened butter or margarine
·         1 egg
·         1 teaspoon vanilla
·         1 ½ cups vanilla chips (on the aisle with chocolate chips)


In a large mixing bowl combine the orange drink powder, sugar, flour, baking soda, and baking powder.  Mix together well.  Using an electric hand mixer or a large wooden spoon beat in the butter or margarine, one egg, and vanilla.  You may need to use your hands.  The dough will be sticky.  Stir in the vanilla chips.

Shape dough into balls the size of walnuts.  Place 2 inches apart on greased baking sheets.

Bake at 375°F for 12 to 14 minutes.  Cool for 5 minutes on baking sheet.  Remove to cooling racks or a plate to finish cooling.

Makes 2 1/2 dozen cookies.


Dreamy Orange Puffs in a Jar

·         ½ cup orange flavored instant breakfast drink powder (you can usually find this on the aisle with lemonade)
·         ¾ cup sugar
·         1 ½ cups vanilla chips (on the aisle with chocolate chips)
·         1 ¾ cup all-purpose flour
·         ½ teaspoon baking soda
·         ½ teaspoon baking powder
·         1 stick softened butter or margarine
·         1 egg
·         1 teaspoon vanilla

In a clean quart size glass jar, layer the orange drink powder.  Press firmly into bottom of jar.  Next pour in the sugar.  Very gently shake jar from side to side to level out sugar.  Then carefully add the vanilla chips.

In a separate bowl mix the flour, baking soda, and baking powder together.  Mix well.  Carefully spoon the flour mixture into the jar on top of the vanilla chips.  You will need to press the flour in firmly and repeatedly to get it all to fit into the jar, but it will go.

If you are giving this away as a gift, add the following directions to a card and attach it to the jar so your gift can be enjoyed.

Empty contents of jar into large mixing bowl.  Use large spoon or your hands to thoroughly blend ingredients.

Add 1 stick softened butter or margarine, 1 egg slightly beaten, and 1 teaspoon vanilla (optional).

Thoroughly mix together.  The dough will be sticky.  You may need to finish mixing with your hands.

Shape dough into balls the size of walnuts.  Place 2 inches apart on greased baking sheets.

Bake at 375°F for 12 to 14 minutes.  Cool for 5 minutes on baking sheet.  Remove to cooling racks or a plate to finish cooling.

Makes 2 1/2 dozen cookies.

Friday, December 21, 2012

Christmas Chewies

When I asked my husband how long he's been making these Christmas cookies, his response was, "Oooo that's a hard one...years and years and years...before we were married...before we were even dating."  Suffice it to say, a very long time.  Not quite decades and decades.  But definitely more than one decade.  We recently celebrated our eleventh wedding anniversary.

Christmas Chewies come in a variety of different colors and flavors.  This Christmas Brian's making fudge ones and lemons ones and strawberry ones.  He can make any flavor, well at least any flavor that is found in a boxed cake mix.  Ooops I might be giving his secret away.  Here's what the dough looks like as it's being formed.

Then you just line them up on the baking sheet.
You can add some decorative sprinkles to the tops prior to baking.
As the cookies bake they flatten out just enough to slather some cream frosting between two of them.  
We're winding down the Christmas cookies baking season.  It's not over yet, but it's getting close.
We're starting to fill tins and plates and containers.
Here's what things are starting to look like at our house about now.


Yumminess at its best!

Wednesday, December 19, 2012

Buckeyes

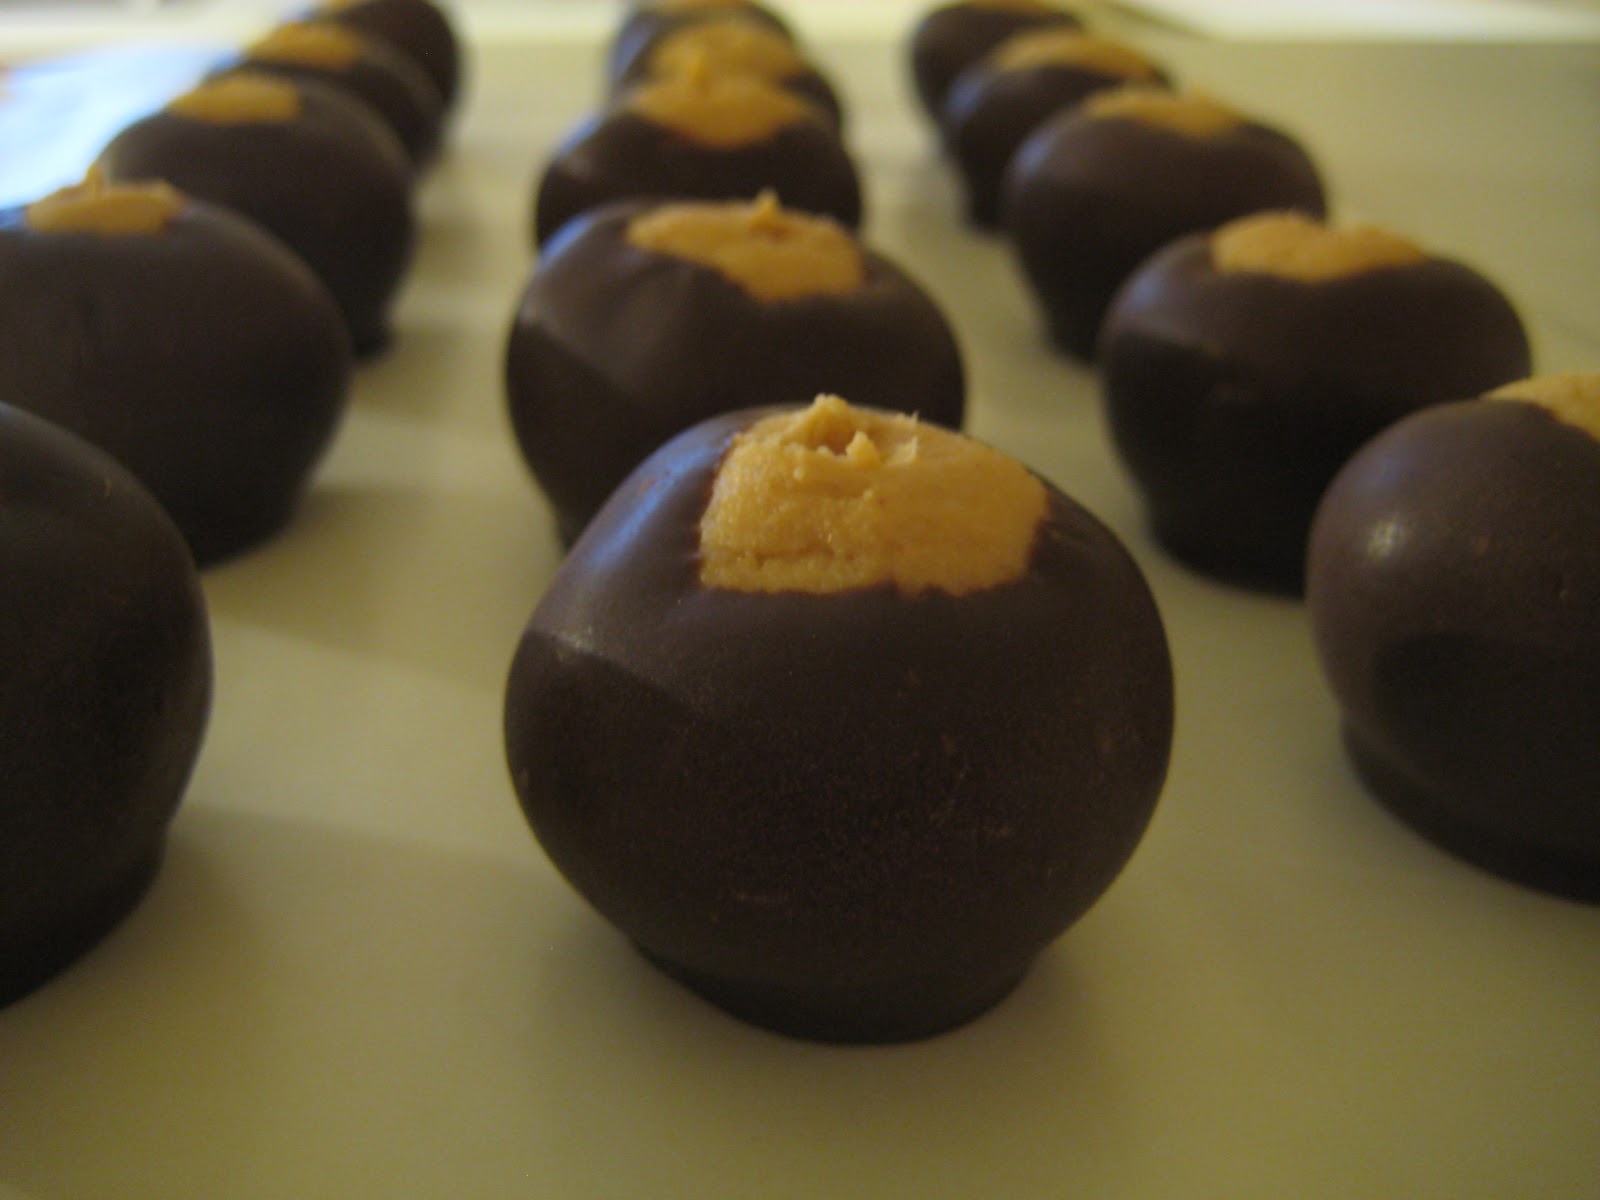
Chocolate and peanut butter always make an excellent pairing.  Over the years I have tried out different recipes for this chocolate and peanut butter combination and finally settled on this one.  It makes a nice firm peanut butter bonbon which holds up well when travelling or just transporting them across town.  They make a great finger food as you pop them right in your mouth.  Here's how to get started. 

Buckeyes
Makes about 7 dozen

·         2 (10 oz.) packages peanut butter chips
·         6 ounces cream cheese, softened (I usually use the lighter Neufchatel cheese)
·         14 ounce can sweetened condensed milk
·         1 cup peanuts, finely chopped
·         12 ounce package of Wilton® Candy Melts® - dark cocoa

In a heavy bottomed saucepan, melt peanut butter chips over low heat.

With electric mixer, beat cream cheese until fluffy.  Gradually add sweetened condensed milk as mixer continues beating.

Stir melted peanut butter chips into cream cheese mixture.  Add chopped peanuts.  Mix well. 
Chill for 2 to 3 hours. 

Roll dough into one-inch balls using the palms of your hands.  Follow package instructions to melt Candy Melts®.  Using a wooden toothpick, poke partway into the middle of the ball.  Dip the ball into the melted chocolate a little more than halfway up the sides of it.  Then gently release it onto wax paper.  You may need to gently push it off the toothpick with your fingers.  Leave buckeyes on wax paper until chocolate coating is firm.   
Peel them off of wax paper and store in a sealed plastic container.
The challenge then is to eat only one.

Saturday, December 15, 2012

Hungarian Vanilla Kifli

My husband and I lived in Hungary, a country in eastern Europe, for about two and a half years.  We enjoyed learning about the Hungarian culture.  We found Hungarians to be very hospitable and caring people.

Typical families in Hungary have many Christmas traditions which involve food much like typical families in America, if there is such a thing as typical for either culture.  Traditionally Hungarians serve Fish Soup on Christmas Eve.  Their Christmas tree is usually decorated by the adults in the family on Christmas Eve, and the children are invited to view the glowing beauty in all its splendor.  Among the ornaments on the Hungarian Christmas tree you will also find szaloncukor, a fondant and chocolate truffle type of candy wrapped in bright colored foil.  Children will remove a piece of szaloncukor from the tree, eat the candy, and return the foil wrapper to the tree.  Parents smile and pretend not to notice as they fondly remember eating their own share of the sweet treats and replacing the wrappers during their own childhood.

I want to share with you a recipe for a tradional Hungarian Christmas cookie, Vanilla Kifli.  It is very similar to a cookie I grew up eating called Butterballs or Mexican Wedding Cookies.  The Hungarian word, "kifli," means "crescent" like the shape of the crescent moon. 

After some trial  and error in trying to capture the taste of the Vanilla Kifli I tasted in Hungary, I came up with this recipe.  I hope you will consider adding a new cultural tradition to your Christmas baking. 

Vanilla Kifli
Makes about 3 dozen

·         ¾ cup unsalted butter, softened
·         ½ cup granulated sugar
·         2 large egg yolks
·         2 teaspoons vanilla extract
·         2 cups flour
·         ¾ cup ground walnuts
·         Powdered sugar
·         2 (1 ounce) semi-sweet chocolate squares


Using an electric stand or hand mixer, beat together butter and granulated sugar.  Add egg yolks and vanilla.  Beat well. 


Add flour one cup at a time, mixing well in between.  Stir in walnuts until thoroughly combined. 

Place mixture in the refrigerator in a covered bowl for at least two hours; can be placed overnight.  Preheat oven to 400ºF.  Roll dough between hands to form short rope.  Pinch in the middle to make the crescent moon shape.  Place cookies on an ungreased cookie sheet. 
Bake about 10 to 12 minutes.  Bottom of cookies will be lightly browned while tops remain white.  Let cookies cool for about 5 minutes.  Carefully roll crescents into powdered sugar.  Let cool completely.   
Melt chocolate in microwave on low or on the stovetop in a double boiler on low.  Dip small portion of each end of the cookies into chocolate.  Place on wax paper.  Allow to thoroughly cool and set.  Cookies should be kept in sealed container until ready to serve.


Thursday, December 6, 2012

Oatmeal Crusted Cream Cheese Bars

Oats are a natural whole grain. They add nutrition as well as texture to meals.  Oats make a great crust for  lots of special recipes from chicken to bar cookies to pies to cheesecakes. They are a staple in my kitchen.  Several years ago, I created this recipe to enter into a contest.  I was looking to make a cream cheese dessert with a textured crust to contrast with the smooth cream cheese layer.  Oats were an obvious ingredient to focus on.  I didn't win the contest, but the recipe still became a hit at several events.  You get the wonder of cheesecake in a bite-sized punch. 


Oatmeal Crusted 
Cream Cheese Bars
Makes 36 squares


  • ½ cup old fashioned oats
  • 1 cup all-purpose flour
  • ¾ cup brown sugar, firmly packed
  • 1 stick butter, softened
  • 8 oz. pkg. low-fat cream cheese (Neufchatel cheese), softened
  • 1 large egg
  • ¼ cup white sugar
  • Christmas sprinkles or red/green colored sugars
Preheat oven to 325ºF.  Grease bottom and sides of a 9 inch square pan.

Combine oatmeal, flour, brown sugar, and butter into a large bowl.  Using a hand pastry blender, work mixture until butter becomes pea sized.  Mixture will be coarse.  Press firmly into the bottom of the 9 inch square pan.  Bake for 10 minutes.

While crust is baking combine cream cheese, egg, and white sugar in medium sized mixing bowl.  Using an electric hand mixer, cream ingredients together for one minute.  With a spatula, spread cream cheese mixture evenly on top of oatmeal crust.  Continue baking at 325° F for 30 more minutes.  Remove from oven.  Allow to cool for 10 minutes.  Top with sprinkles or colored sugars.  If you want the decorations centered on the squares, lightly score out squares before applying sprinkles or colored sugars.  Cool completely.  Cut into 1 ½” squares.  Store in sealed container in the refrigerator.

These are versatile.  You can change the top decorations to pink/red for Valentine’s Day or blue/red for Patriotic holidays or pink/purple/green for Easter.

Monday, December 3, 2012

Christmas Fudge


One of my husband's favorite Christmas treats is my Christmas Fudge.  I often double this recipe so there is plenty to go around.  I make it on the stovetop.  It is probably the easiest and quickest Christmas sweet I make.  When you pop a piece in your mouth, the creamy layers peel off and fill with mouth with chocolate goodness.  Are you drooling yet?  I think there's a pan of this in your future.  Enjoy!!   


Christmas Fudge
Makes approximately 2 pounds

·         1 ½ cups granulated sugar
·         2/3 cup evaporated milk
·         2 Tablespoons butter
·         ¼ teaspoon salt
·         2 cups miniature marshmallows
·         1 ½ cups semi-sweet chocolate chips
·         2 teaspoons vanilla extract
·         ½ cup chopped pecans or walnuts (optional)

 Combine sugar, evaporated milk, butter, and salt in a medium heavy-bottomed saucepan.  Stir constantly and bring ingredients to a boil over medium heat.  When mixture comes to boil, continue stirring constantly and allow to boil for 4 ½ minutes.  Remove from heat. 

Stir in marshmallows, chocolate chips, and vanilla.  Stir quickly for 1 minute until marshmallows are melted and completely mixed into other ingredients.  Stir in nuts, if desired.  Immediately pour into foil-lined 8-inch or 9-inch baking dish.  Place in refrigerator only until firm, then cut into pieces.  Keep in sealed container.

Recipe can be doubled to make a 9 x 13-inch pan of fudge.

Sunday, December 2, 2012

Holly Leaf Cookies

My favorite Christmas cookies from childhood would include Holly Leaf Cookies at the very top of the list.  My mom made them every year, but of course, only at Christmas.  They were a very special treat.  I've been making them for the past fifteen or twenty years.  Popping green and bits of red onto our Christmas dessert display, they are always a very festive and tasty cookie.  They are also very easy to make and they're one of few Christmas treats that don't require baking.  You must work quickly, though.  I hope you enjoy them.
 
Holly Leaf Cookies
Makes about 24 wreaths
  • 1 stick margarine
  • 1 bag marshmallows
  • 3 1/2 to 4 1/2 cups corn flakes
  • green food coloring
  • cinnamon red hot dots
Begin by laying out a piece of wax paper (about 18 inches or so long) onto your counter.  Make sure it's an area that you won't need for a little while.  Measure cornflakes into a large bowl.

Melt margarine in large saucepan over medium heat.  Add marshmallows to melted margarine, stirring constantly until mixture is smooth.

Remove from heat.  Add food coloring and stir briskly until desired intensity is reached.  Immediately add about 3/4 of the corn flakes, stirring gently, yet quickly to coat corn flakes.

Add remaining corn flakes as long as marshmallow mixture sufficiently coats them.  Using two teaspoons drop dollops of mixture onto wax paper in the shape of small round wreaths.  Work quickly as mixture will become stiffer and harder to work with.  Add three cinnamon red hot dots to each wreath.

Cool completely.  Remove from original wax paper and place in sealed plastic container separating layers with wax paper.  I've found that if you place them in a container on the original wax paper, they are difficult to remove later.

Enjoy your new Christmas greenery!