the grains of life...living...growing...writing...baking...cooking...crafting

Saturday, January 30, 2016

Chicken Divan Easy

For week night meals I am always looking for quick and easy, home cooked and healthy, and just plain good...all in one dish preferably. I am not hard to please.

Chicken Divan can be one of those dishes. Of course, it can also be one of those 5-star elegant dishes that you slave over all day, too. First of all to make it meet my week night criteria, I usually use chicken I cooked on the weekend or chicken I crock pot the same day. Then I combine canned soup, mayonnaise and spices for the sauce. It can really be put together in about 10 minutes and baked for 30 minutes while you unwind, check email, surf the web, or tend to your kids. It can really be that easy. Hope you enjoy!

  • 2 cups shredded chicken
  • 1 - 10 ounce package frozen broccoli, thawed
  • 1 cup shredded cheddar cheese
  • 1 can cream of chicken soup
  • 1/4 cup mayonnaise
  • 1 teaspoon lemon juice
  • 1 teaspoon sage
  • 1/2 teaspoon thyme
  • black pepper to taste
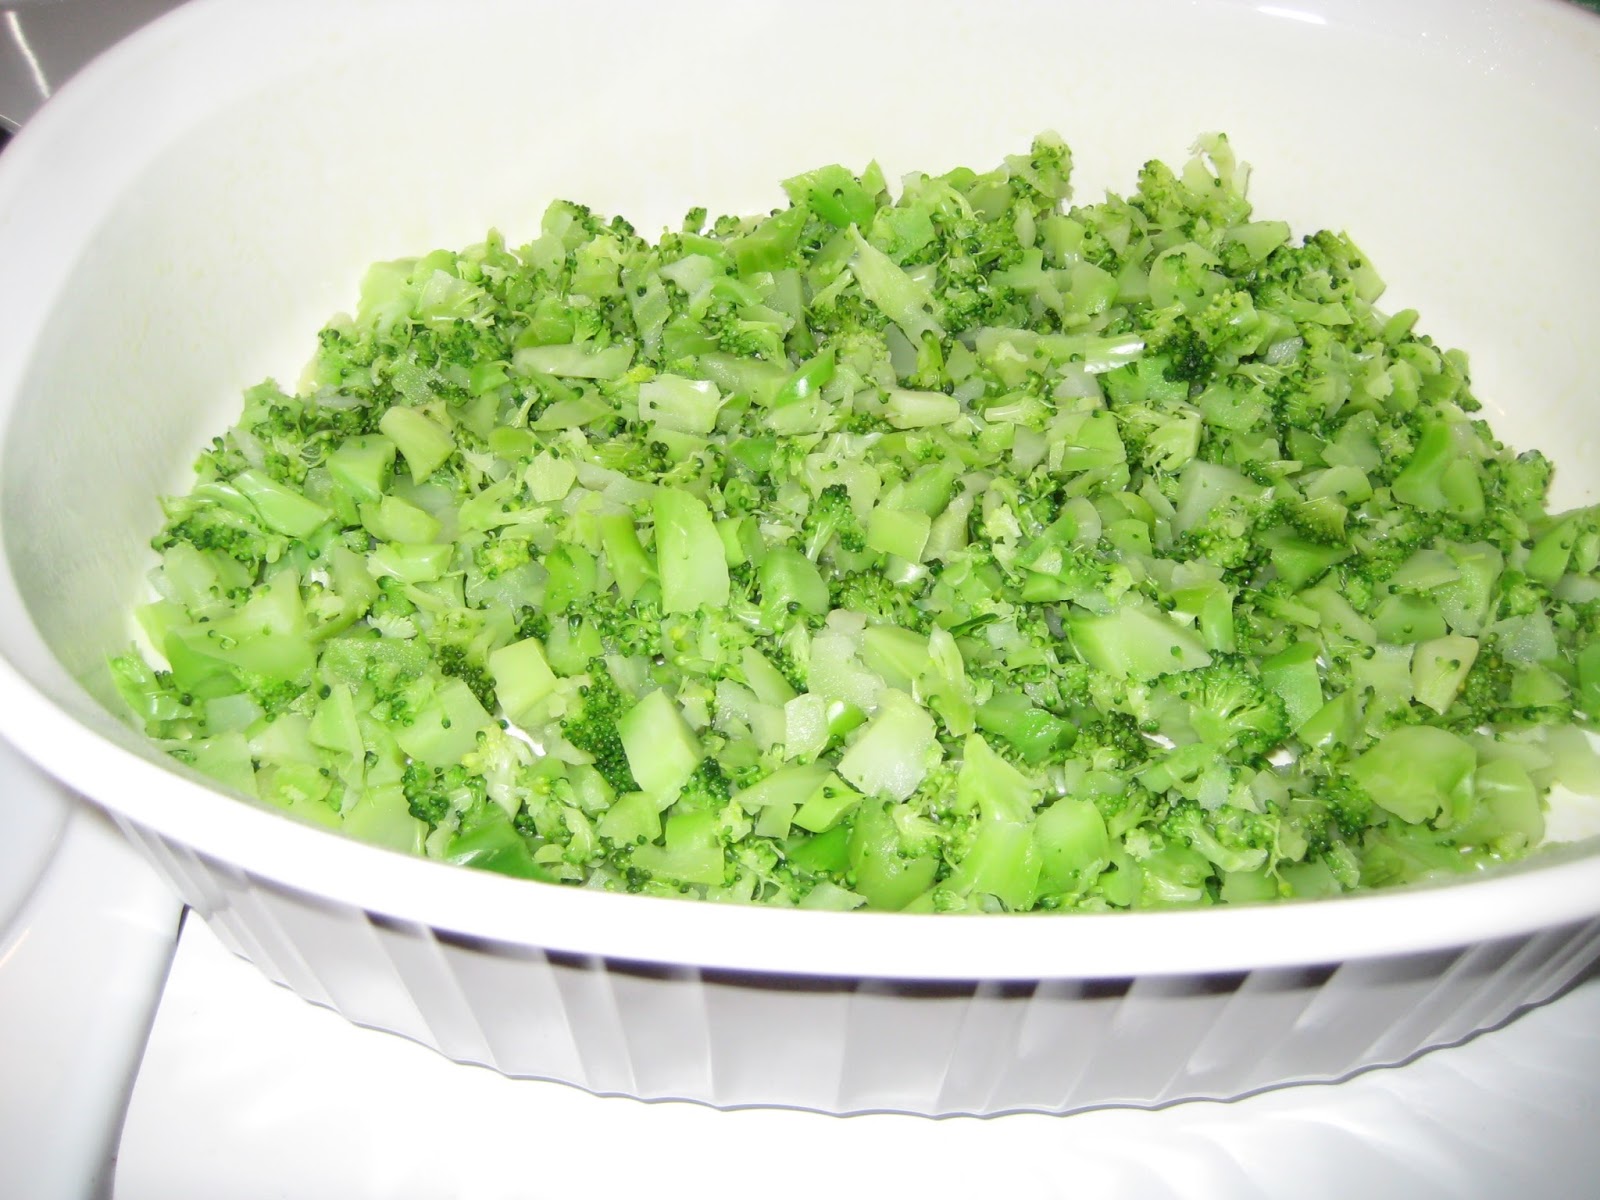
Spray olive oil on the bottom and sides of a 2-quart casserole dish. Layer thawed broccoli in the bottom. Top with the

shredded chicken. Sprinkle with sage, thyme, and pepper.  In a small bowl combine soup, mayonnaise, and lemon juice. Spread on top of chicken and spices. Top with shredded cheese.

Bake at 350°F for 30 minutes. Hope you enjoy this quick and easy weeknight supper!

Wednesday, January 13, 2016

Blueberry Cinnamon Tea Cake

A few years ago I wanted to come up with a special something to take to the ladies Bible study group I attended. It was springtime so I wanted to utilize some fresh berries. Given the mid morning time of our get together, the special something needed to go with hot coffee and tea for the regulars and with water for the health conscious getting in their 100 ounces of water a day and with the soda drinking group who needed the caffeine and sugar to "just get through".

I thought about coffee cakes, but I've never been a big fan. I've always found them to be too dry for my taste. So I looked over some recipes and through trial and error came up with this one I call Blueberry Cinnamon Tea Cake. It's lighter than a traditional coffee cake and more moist than most breakfast cakes with a nice cinnamon crunch on top. I hope you enjoy it!

Cake Ingredients:
  • 1 1/2 cups unbleached all purpose flour
  • 1/2 cup sugar
  • 3 teaspoons baking powder
  • 1/8 teaspoon salt
  • 1/2 cup whole milk
  • 1/4 cup vegetable oil
  • 1 large egg
  • 2 cups fresh blueberries


Topping Ingredients:
  • 1/2 cup unbleached all purpose flour
  • 1/2 cup sugar
  • 1 teaspoon ground cinnamon
  • 1/4 cup butter
Preheat oven to 350°F. Grease and flour a 9-inch square pan.
In a large bowl combine the first four cake ingredients and mix well. Push the dry ingredients to the side leaving a hole in the middle. Pour the milk, oil, and egg into the hole. Mix well incorporating the dry ingredients.


Gently fold in the blueberries. Spread cake into the pan.

In a small bowl combine the first three topping ingredients and mix well.

Cut the butter into the dry topping ingredients until mixture crumbles. Sprinkle this mixture the cake.

Bake for 35 to 40 minutes until toothpick inserted in center comes out clean.

Saturday, January 2, 2016

Russian Tea


Russian Tea is something I can remember from childhood. I don't think it has anything to do with Russian culture other than maybe Russians love tea, too. This recipe was quite popular in the 1970s and '80s here in America. My mother and grandmother would whip us up a batch at home, and we also had it for special occasions at church. With so many specialty coffee and tea places and options around now, I think it has fallen out of favor. I hope you will rediscover the great flavor of Russian Tea. My husband really likes it so I made him a batch recently and thought I would share it with you all too.

A few years back I made gift baskets for our siblings and their families as Christmas presents and included a jar of Russian tea.

For the gift baskets I layered the ingredients in a clear wide mouth pint size jar which made it pretty. Then the recipient just needed to dump it into a bowl, stir it up, and pour it back in the jar before using it.

 For us at home I just mix all the ingredients into a bowl and pour them into a wide mouth pint size glass jar.


  • 3/4 cup instant tea
  • 2 teaspoons ground cinnamon
  • 1 teaspoon ground nutmeg
  • 1/2 teaspoon ground ginger
  • 1/4 teaspoon ground cloves
  • 3/4 cup instant lemonade mix with sugar
  • 3/4 cup instant orange drink mix
FOR AT HOME USE: In a medium size bowl preferably with a spout mix together all ingredients. Stir well. Pour mixture into a wide mouth pint size glass jar.

FOR A CUP OF RUSSIAN TEA: Mix 2 tablespoons of mix into 8 ounces of boiling water and stir well. Enjoy!

FOR A GIFT JAR: In a small bowl mix together the tea with the cinnamon, nutmeg, ginger, and cloves. Carefully add half of this mixture to the bottom of a clear wide mouth pint size glass jar. You may want to wipe off the inside of the jar if tea blew up on the sides. Measure out the lemonade mix and the orange mix. Add 1/2 of the lemonade mix to the jar on top of the tea mixture. Press down firmly with a spoon. Next add 1/2 of the orange mix on top of the lemonade mix. Press down firmly with a spoon. Repeat layers with the rest of the tea mixture, then the lemonade mix, and finally with the orange mix. Add a small cloth topper to the top of the jar along with an instruction label: "Empty contents of jar into a medium size bowl. Stir together thoroughly. Pour mixture back into jar. FOR A CUP OF RUSSIAN TEA: Mix 2 tablespoons of mix into 8 ounces of boiling water and stir well. Enjoy!" 

Tuesday, March 17, 2015

St. Patty's Day Cupcakes

In celebration of St. Patrick's Day I made these St. Patty's Day cupcakes last night for our party at ESL tonight. Growing up we always celebrated St. Patrick's Day because it is also my brother's birthday.


I've had this recipe for a long time. I have no idea where it came from but they're always a big green hit. They use instant pistachio pudding which makes the cake green.


  • 1 3/4 cups all purpose flour
  • 2/3 cup sugar
  • 1 small box instant pistachio pudding mix
  • 2 teaspoons baking powder
  • 1/2 teaspoon salt
  • 2 eggs
  • 1 1/4 cups milk
  • 1/2 cup vegetable oil
  • 2 teaspoons vanilla
Combine the dry ingredients in a large bowl. Mix thoroughly. In separate mixing bowl beat eggs, milk, oil, and vanilla on high. Slowing add the dry ingredients to the wet ingredients in thirds beating well after each addition. Line muffin pan with foil muffin cups. Fill 2/3 full with batter. Bake at 375°F for about 20 minutes. Makes about one dozen cupcakes.

Frost with your favorite green frosting. For these I used a basic vanilla buttercream frosting.

Friday, February 13, 2015

Simple Turkey Chili

The cold days keep coming and so do hot bowls of soup and chili at my house. Sometimes you don't have a lot of time and you want a dish you can make in thirty minutes or less that tastes like you spent the whole morning in the kitchen.

I made this one recently for a Saturday lunch. I used canned beans and canned tomatoes so prep time was greatly reduced. This recipe embodies how I like to cook - a dab of this and a dab of that - all to taste. So for all my spices in this one there aren't measurements. I hope you will enjoy experimenting with different amounts to find you own perfect blend just for you.


  •  1 1/4 pounds lean ground turkey
  • 2 cans pinto beans
  • 1 can cannellini beans
  • 1 quart canned tomatoes
  • Paprika
  • Chili powder
  • Black pepper
  • Onion powder
  • Minced garlic
  • Ground mustard
  • Italian spice blend
Crumble turkey into frying pan. Add some chili powder. Cook over medium-high heat until fully cooked and scrambled. Transfer to large chili pot.


Add beans and tomatoes. Bring to boil. Lower heat. Add spices to taste. Simmer for 30 minutes.

Ladle into bowls. Consider topping with shredded cheese and sour cream.


Saturday, January 24, 2015

Tomato Bisque

On these cold winter days we've been having I have enjoyed making different kinds of soup. There is something about a bowl of soup that warms you from the inside out.

Here is a good one to try when you have a little time to spend in the kitchen.

Tomato Bisque


  • 4 tablespoons unsalted butter
  • 2 slices bacon, chopped
  • 1 large yellow onion, chopped 
  • 1 carrot, peeled and chopped
  • 1 celery stalk, chopped 
  • 4 cloves garlic, minced 
  • 5 tablespoons all-purpose flour
  • 6 cups low sodium chicken broth
  • 1 quart (32 ounces) stewed tomatoes
  • parsley and thyme 
  • 1 cup heavy cream 
  • 1 3/4 teaspoon kosher salt 
  • Freshly ground black pepper
 
Melt butter in large soup pot over medium-high heat. Add the bacon. Cook, stirring until crisp for about one  minute. Use a slotted spoon to dip the bacon out and onto paper towels. Set aside. 


Lower the heat to medium, add the onion, carrots, celery, and garlic. Stir occasionally. Cook until soft and fragrant, about 8 minutes.

Stir in the flour. Continue stirring for 3 minutes. Pour in the broth and tomatoes. Bring to a boil while stirring constantly. Add parsley and thyme to taste. Lower the heat and simmer for 30 minutes. Remove from the heat and allow to cool.
 
In small batches, ladle the cooled soup mixture into a blender and puree until smooth. Return the puree to the pot and reheat over medium heat.
Whisk the heavy cream and salt into the soup and season with pepper to taste. Garnish with the crispy bacon and dribbles of additional cream. After you dribble a few drops of cream use the tines of a fork to draw a heart or your guest's initials. Serve immediately.  


Monday, December 22, 2014

Ready by January 22

Fruitcake


I should have made my fruitcake a month ago or at least a couple of weeks ago so it would have had time to mature by Christmas. Some consider this to be an important aspect of a good fruitcake. I baked mine tonight. I considered many different recipes and designed my own. If you want a cake that is more nuts than fruit, that incorporates all candied fruit and no dried fruit or raisins and adds a touch of orange and molasses, then mine might be for you. I hope you will consider your favorite flavors and experiment to design a new favorite for your family.

  • 2 cups chopped walnuts
  • 2 cups chopped pecans
  • 2 cups fruitcake fruit mix
  • 3 Tablespoons all-purpose flour
  • 3/4 cup softened butter (1 1/2 sticks)
  • 1 cup sugar
  • 5 eggs
  • 2 Tablespoons molasses
  • 1 Tablespoon vanilla
  • 1/3 cup orange juice
  • 1 3/4 all-purpose flour
  • 1/2 teaspoon baking soda
  • pinch of salt


Preheat oven to 300°F. Grease and flour a large tube pan. Combine walnuts, pecans, and fruit mix. Sprinkle with 3 Tablespoons flour.

Stir gently until nuts and fruit are coated in flour. Set aside. In an electric mixer, cream together butter and sugar. Add eggs one at a time beating well with each addition.
Add molasses, vanilla, and orange juice. Mix together. Add flour, baking soda, and salt all at once.  Beat, scrapping sides with spatula until all is combined.  Stir in nuts and fruit.
Spoon carefully into pan taking care to spread batter evenly.
Bake for 2 hours until toothpick inserted near center comes out clean and cake pulls away from sides of pan. Run a knife along the edges to help loosen cake if needed. Allow cake to rest in pan on cooling rack for approximately 30 minutes. Remove from pan onto glass cake plate.
  Cool completely. Wrap in plastic wrap followed by foil wrap.    


Monday, December 15, 2014

Dixies

Dixies are part bar cookie, part brownie, and all together delicious. A friend gave me this recipe almost ten years ago. It's an old recipe using lots of butter and sugar.  I only make them when I can take the whole batch somewhere which is usually around Christmas. They melt in your mouth. Hope you enjoy them.


  • 1 box dark brown sugar
  • 2 sticks butter, melted
  • 2 eggs
  • 1 teaspoon vanilla
  • 2 cups self-rising flour
  • 1 cup chopped pecans

Combine ingredients, spread into a greased 9”x13” pan. Bake at 350°F for 30 minutes.

Monday, December 1, 2014

Cranberry Waldorf Salad


Cranberries look and smell and more importantly, taste like Christmas. Culturally, cranberries are one of our holiday foods. They appear in the fall, and shortly after Christmas we usually don't see them again until next fall. You can always buy a few extra bags as cranberries keep well in the freezer. Then you can use them throughout the year.


I checked out quite a few recipes for Cranberry Waldorf Salad and tweaked one into my very own.  Hope you enjoy.


  • 1 1/2 cups chopped cranberries
  • 1large red apple, chopped and sprinkled with a few shakes of lemon juice
  • 1/2 cup chopped celery
  • 1 cup seedless grapes, halved or quartered
  • 1/2 cup chopped walnuts
  • 2 Tablespoons honey
  • 2 Tablespoons sugar
  • 1/2 teaspoon cinnamon
  • 1 6-ounce container light vanilla yogurt
  • 1/4 cup mayonnaise
Combine all ingredients in mixing bowl. Stir gently yet thoroughly to combine. Cover and refrigerate until serving.

I prefer to chop the cranberries in my small food chopper.  It creates slivers of red throughout the dish.

Serves 6 to 8

Sunday, November 23, 2014

Felt Gift Card Pocket Bags


These little felt bags are just wide enough to slide a gift card inside and just tall enough to keep it hidden.  The pearl button serves as the clasp on the front.  Since it's not designed to be a high-use bag, a simple slit in the green clasper piece of felt works nicely without any reinforcement to clasp the button to close the bag on the front.


The backside of the green clasper piece is sewn on using another button which makes the bag a bit nicer than if I'd only sewn a crisscross pattern to tack the felt down on the back.


The green cuff on the front also adds a nice element that upgrades this bag a bit. I used felt scraps I already had at home and two buttons from my button jar.

Many items of clothing come with extra buttons. Some are included on cards or in tiny attached envelopes or even sewn into the side tag.  In my lifetime I can count on a couple of fingers the number of times I've needed to use one of those extra buttons.  So years ago I started putting them in a mason jar.  I've accumulated a bit of a stash which comes in handy for projects like these.


I designed these small pocket bags to hold gift cards.  I wanted something easy to make and something I could customize personally for the recipient.  I chose burgundy and forest green felt for this one as it was designed to be a Christmas present.  You could easily chose felt colors and patterns to reflect many types of people and special occasions.  Different types of buttons can add the right embellishment for the right person.

To make a pocket bag like this one, you need:  3 pieces of felt: a main body piece of felt (burgundy part) 4 1/2 in. x 5 in., a cuff(green part across the front) 2 1/2 in. x 4 1/2 in., and a clasper (green part across the top used to latch the bag closed) 1 in. x 3 1/2 in.; 2 buttons; coordinating thread 
  1.  Sew one 4 1/2 in. edge of the cuff to one 4 1/2 in. edge of the main body overlapping the cuff about an inch on top of the body.  The other 1 1/2 in. of cuff should be hanging off the body piece of felt.  Sew the cuff across the edge to the body of the bag using a 1/4 in. seam. This is the wrong side of the bag.
  2. fold the 1 1/2 in. part over the body edge to the right side.  
  3. Fold the two 4 1/2 in. edges of the right side together.  The 1 1/2 in. cuff should be to the inside.
  4. Using a 1/4 in. seam, sew the two sides together down from the cuff.  Sew all the way off the fabric reinforcing each end.
  5. Turn the bag right side out.
  6. Attach one end of the clasper to the middle of the back of the bag using a button. Cut a small slit in the other end of the clasper that is big enough to button your decorative button on the front.
  7. Sew a decorative button onto the middle of the cuff. 
Once you work through one of these, it is so easy to make as many as you need. These pocket bags help you personalize your gift. Hope you enjoy the many variations you can create.

Saturday, October 18, 2014

Kielbasa Spinach Tortellini Soup


  •        1 package turkey kielbasa sausage cut into half-inch rounds and halved
  •        ½ bag frozen spinach
  •        1 bag cheese tortellini
  •        6 cups low sodium chicken stock
  •         black pepper
  •         onion powder
  •         garlic
  •         dry mustard
  •         paprika
  •         shredded Parmesan, optional
  •         sour cream, optional

Cook kielbasa over medium heat until golden brown.


In separate pot, cook spinach according to package instructions. Drain.


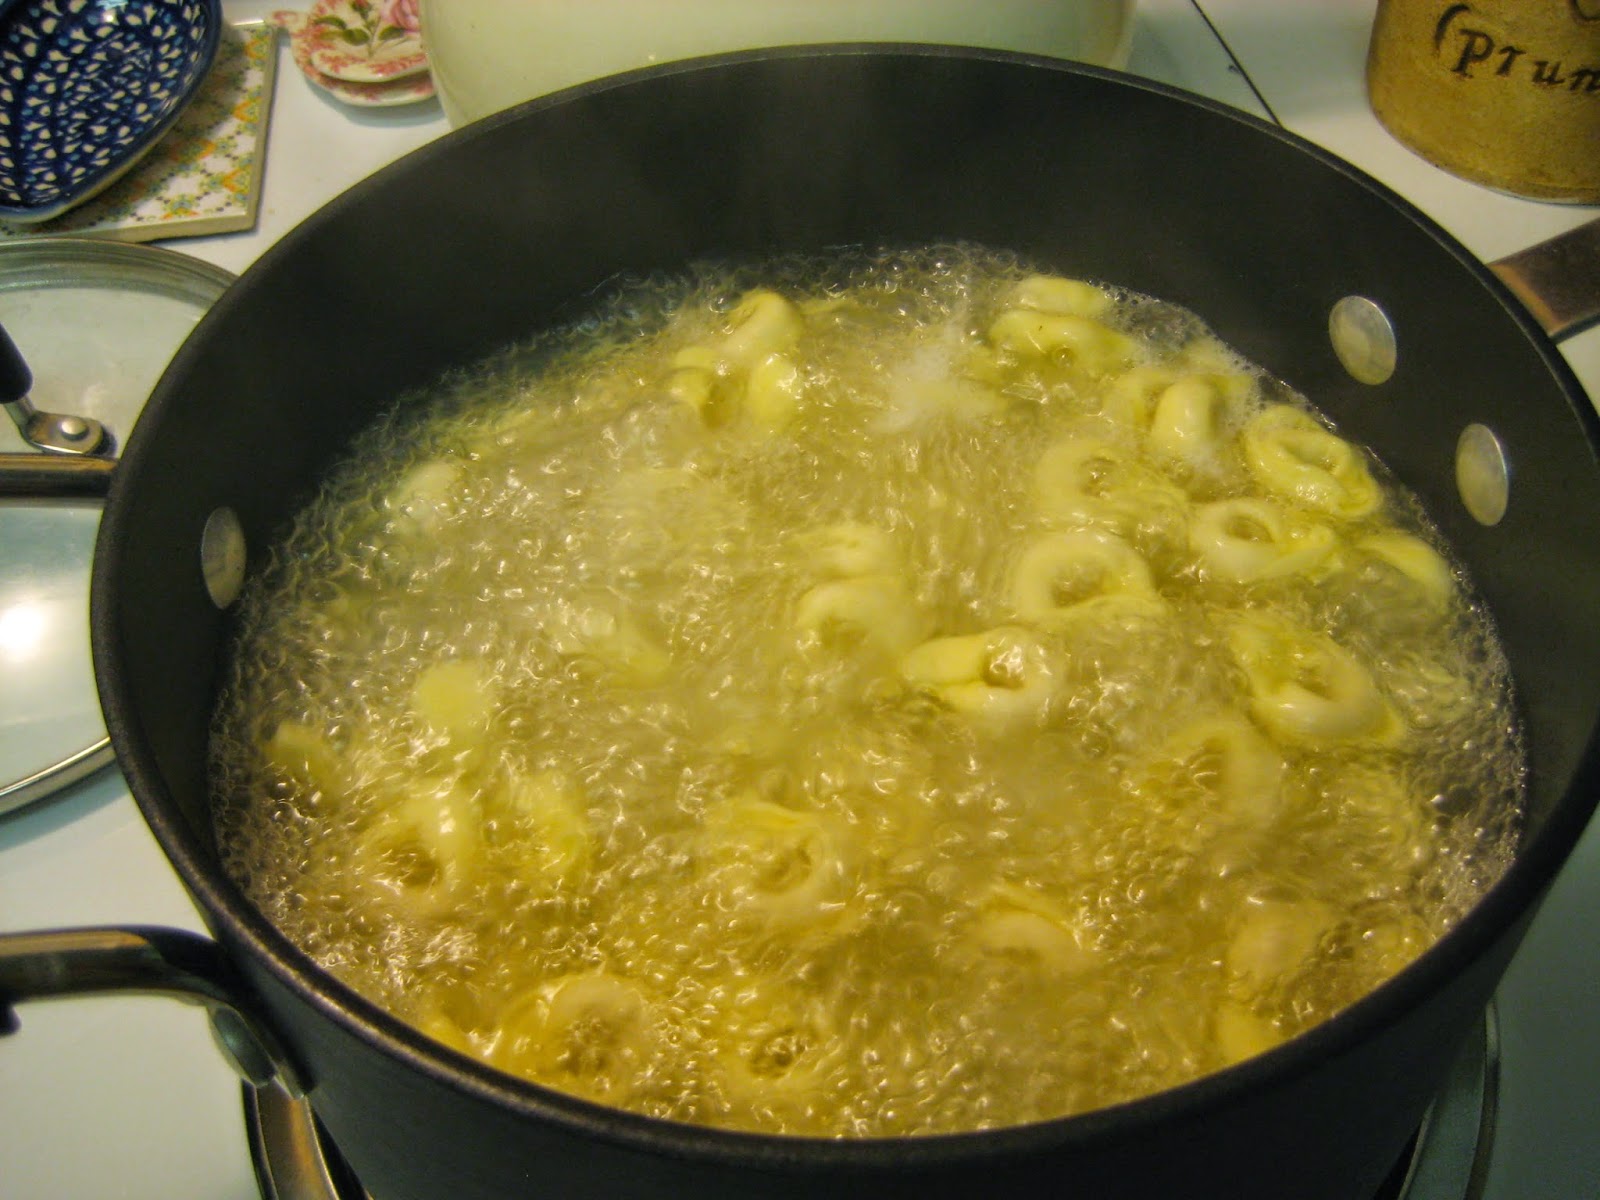
Cook tortellini according to package instructions – I usually buy the dry bagged tortellini on the pasta aisle. You could also use fresh tortellini in the cold foods section.
You can use fresh, boxed, canned, or bouillon cubes for your chicken stock. I add the spices according to my taste so I encourage you to do the same in this recipe. Experiment until you find the right balance for you. We like garlic so I go a bit heavy with that one. I use whatever is on hand – fresh pressed, minced, powdered – whatever is easier/best for you. I do not recommend garlic salt because you will be getting plenty of salt naturally in the other ingredients.

In large pot combine kielbasa, drained spinach, tortellini, chicken stock, and spices. Heat until just bubbly. Ladle into bowls.  Sprinkle shredded Parmesan on top. Add a dollop of sour cream. Serve.

I like to experiment and I hope you do, too. You might want to add onions or add broccoli instead of spinach or use shredded chicken or ground beef instead of the kielbasa. Give yourself permission to switch it up.